Search
11
Nov
How to Get Milky White Nails with Gel Polish
Table of Contents
- What Are Milky White Nails?
- What Do You Need to Create Milky White Gel Nails?
- How to Get Milky White Nails with Gel Polish Step by Step
- How to Make Milky White Gel Polish Look Smooth and Even
- Popular Milky White Gel Nail Styles
- How Long Do Milky White Gel Nails Last?
- Where to Get a White Nails with Gel Polish Service in Lima
Soft, elegant, and effortlessly polished, milky white nails have become a favorite choice for people who love a clean manicure without the stark appearance of solid white polish. Their slightly translucent finish creates a delicate, creamy look that complements different skin tones, nail lengths, and personal styles. If you are wondering how to get milky white nails with gel polish, the secret is choosing the right shade and applying it in thin, even layers. The technique is simple in concept, but product selection, nail preparation, and proper curing all influence the final result. Whether you want to create this look at home or request a professional white nails with gel polish service in Lima, this guide will help you understand the process and achieve the finish you prefer.
What Are Milky White Nails?
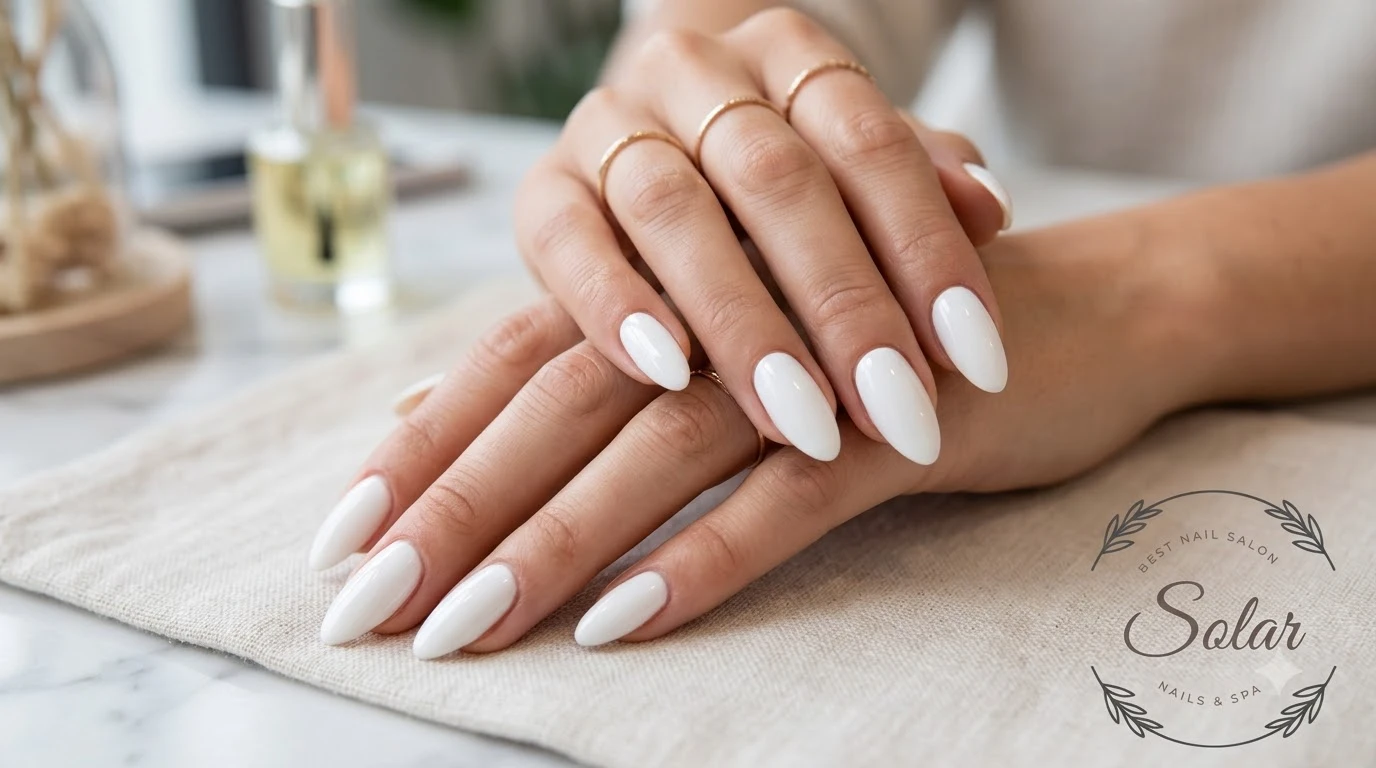
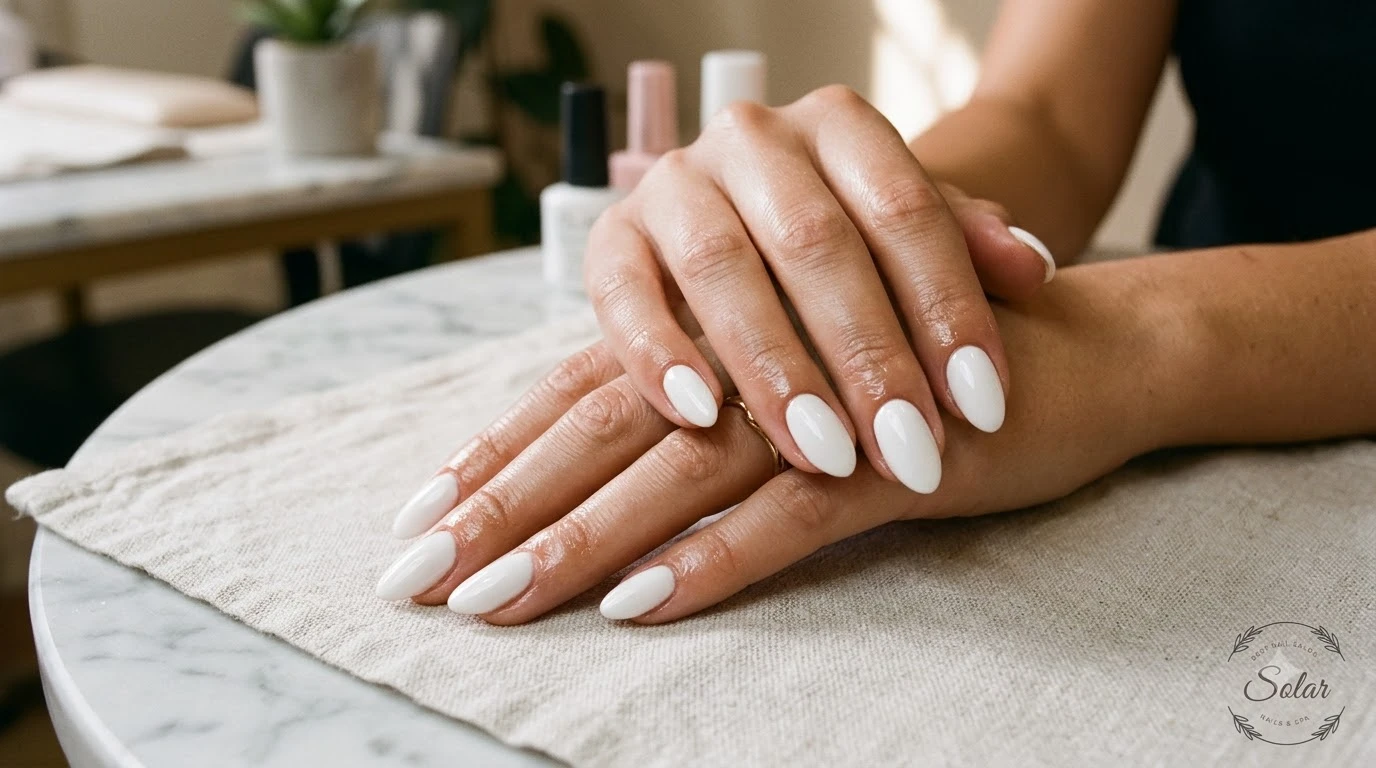
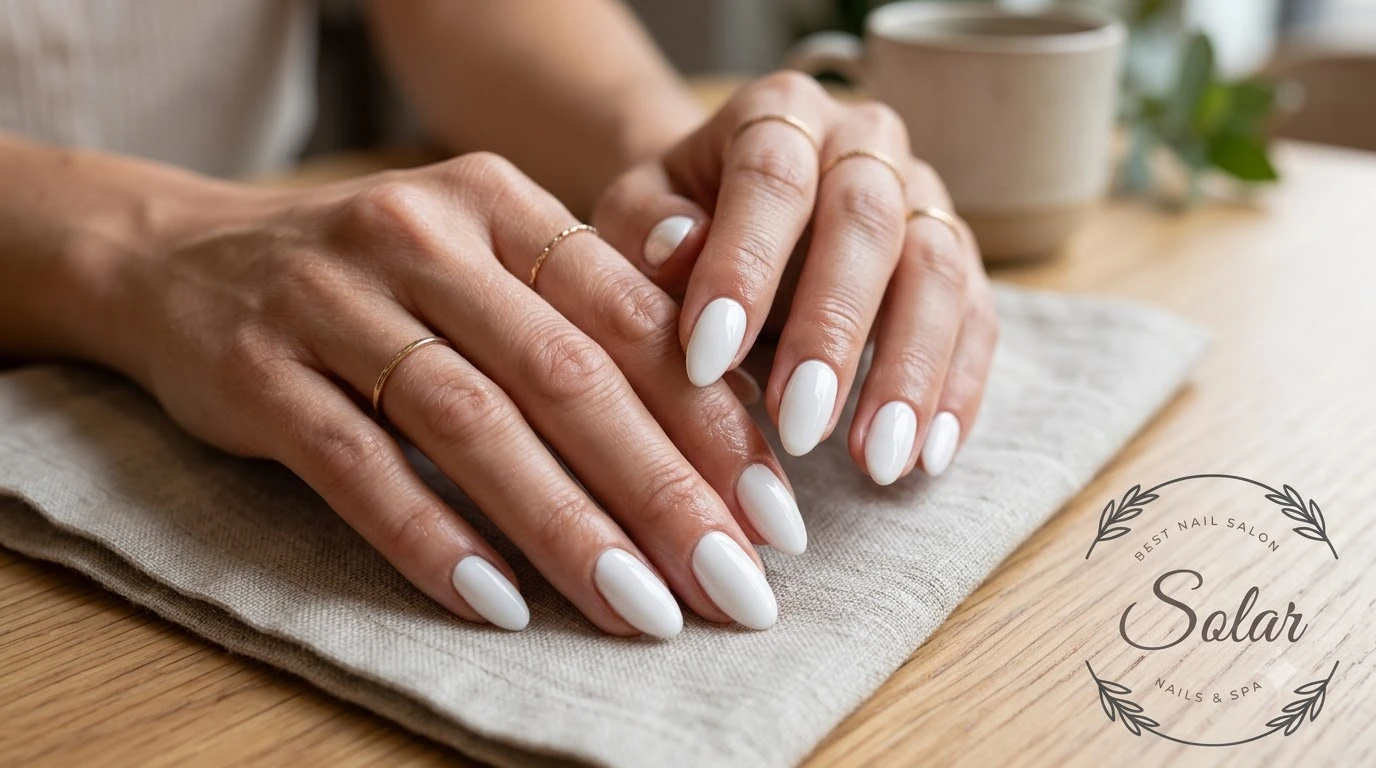
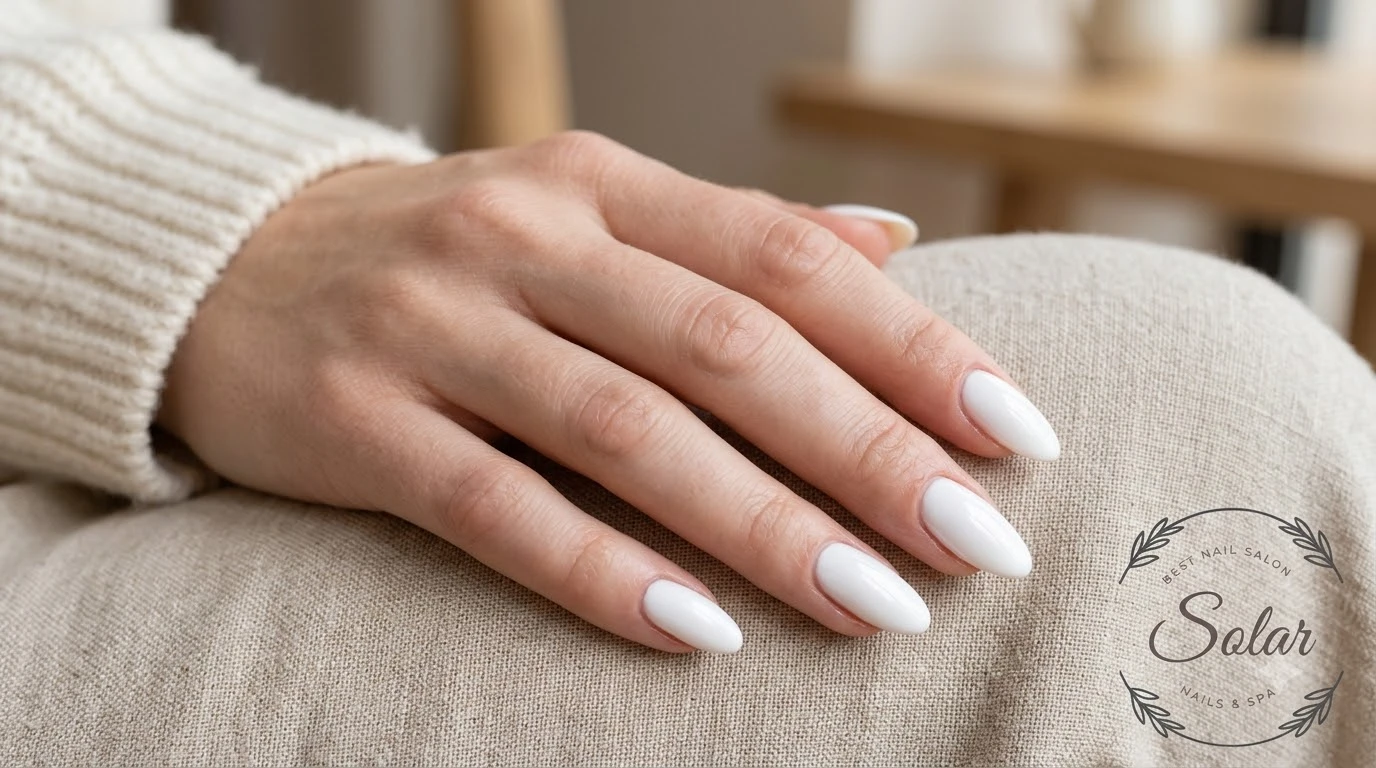
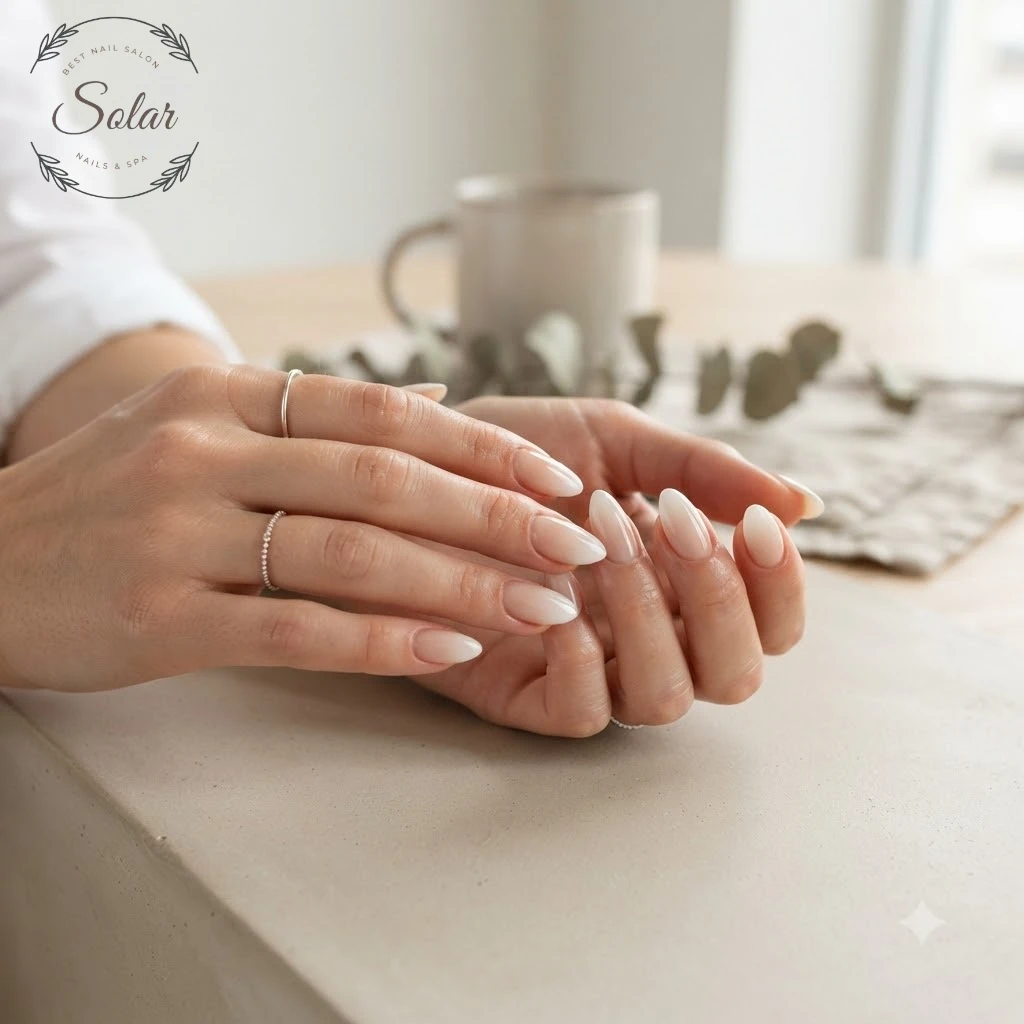
Milky white nails feature a soft white color with a slightly translucent or creamy appearance. Unlike fully opaque white polish, which creates a bold and solid finish, milky white gel polish allows a subtle amount of the natural nail color to show through.
The result is a soft, glossy, and natural-looking manicure that feels understated while still looking polished. Depending on the gel formula and number of coats, the finish can range from nearly sheer white to a more noticeable creamy white.
Understanding the Sheer White Appearance
The defining feature of milky white nails is their balanced opacity. The color should look white enough to be noticeable but soft enough to avoid appearing like a thick layer of correction fluid.
A suitable sheer white gel polish or milky white gel color can create this effect. Some formulas are designed to provide a translucent finish, while others become more opaque as additional coats are applied.
The final appearance depends on several factors:
The original color and transparency of the gel polish.
The thickness of each application layer.
The number of coats.
The color and condition of the natural nail underneath.
The lighting in which the manicure is viewed.
For a soft, creamy result, choose a product specifically intended for a milky or semi-sheer finish rather than assuming every white gel polish will produce the same effect.
Milky White vs. Opaque White vs. Classic French Nails
Although these styles use similar colors, they create different visual effects.
| Nail Style | Appearance | Best For |
|---|---|---|
| Milky white nails | Soft, creamy, slightly translucent white | A subtle, natural-looking manicure |
| Opaque white nails | Solid, bright white coverage | A bold, clean color statement |
| Classic French nails | Natural or pink base with defined white tips | A traditional, refined design |
| White ombre nails | Gradual transition from a natural or pink base to white | A soft, blended appearance |
If you prefer a manicure that looks delicate rather than bold, milky white is an appealing option. If you want stronger coverage, an opaque white may be more suitable.
What Do You Need to Create Milky White Gel Nails?
Getting the right finish starts with choosing products that work well together. A typical gel manicure requires a few essential products and tools.
Choosing the Right Milky White Gel Polish
The most important product is the milky white gel polish itself. Look for a shade described as:
Sheer white.
Milky white.
Creamy white.
Translucent white.
Soft ivory white.
These descriptions can vary between brands, so check the product's actual color appearance rather than relying on the name alone.
If you want a natural-looking finish, choose a semi-sheer formula. If you prefer more coverage, a slightly more opaque milky shade may be a better fit.
Base Coat, Top Coat, and Nail Preparation Tools
Other commonly used products include:
Gel base coat: Helps prepare the nail surface for the gel color system.
Milky white gel polish: Provides the main color.
Gel top coat: Creates the final finish and helps protect the color.
Nail file: Helps refine the natural nail shape.
Cuticle pusher: Used carefully during nail preparation.
Lint-free wipes: Help keep the nail surface clean when appropriate for the system.
Cuticle oil: Supports comfortable, moisturized skin around the nails after the manicure.
Always use products that are compatible with one another and follow their specific application instructions.
LED or UV Nail Lamp and Manufacturer Instructions
Gel polish requires the appropriate LED or UV nail lamp to cure. Not every lamp works equally well with every gel formula.
Check the manufacturer's instructions for:
Compatible lamp type.
Required curing time.
Recommended application thickness.
Base coat and top coat instructions.
Do not guess the curing time or assume that a gel polish is fully cured simply because its surface looks dry. Follow the product-specific directions to help achieve a properly cured manicure.
How to Get Milky White Nails with Gel Polish Step by Step
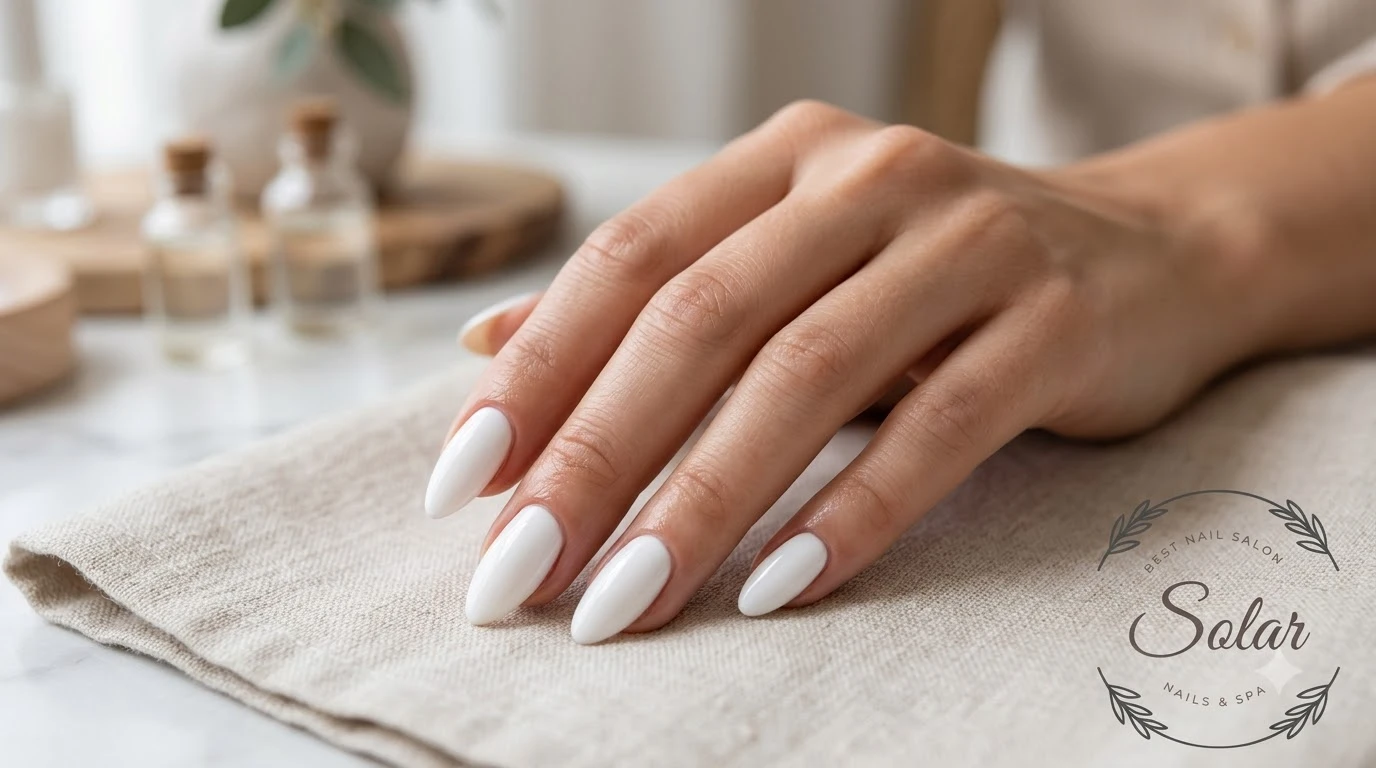
Creating a smooth milky white manicure involves careful preparation, controlled application, and proper curing. The following steps explain the general process. Always follow the instructions for the specific gel polish system you use.
Step 1: Prepare Your Natural Nails
Start with clean, dry nails. Remove any existing polish or product using an appropriate method.
Then:
Shape your nails to your preferred length.
Gently prepare the nail surface according to the gel system's instructions.
Carefully manage the cuticle area without cutting or damaging living skin.
Remove dust and surface residue.
Make sure the nails are clean and ready for the base coat.
Good nail preparation helps create a consistent foundation. Avoid excessive filing, which can thin or weaken the natural nail.
Step 2: Apply a Suitable Base Coat
Apply a thin layer of the compatible gel base coat. Keep the product away from your cuticles and surrounding skin.
Cure it using the lamp and timing specified by the manufacturer.
A smooth, properly prepared base helps the color layer look more even. Avoid applying too much product, as thick layers may interfere with proper curing.
Step 3: Apply Thin Layers of Milky White Gel Polish
This is the most important step for creating the signature milky appearance.
Apply a thin, even layer of milky white gel polish over the nail. Use controlled brush strokes to distribute the color without leaving thick patches or visible ridges.
For a soft, translucent finish:
Begin with a thin coat.
Check how much of the natural nail remains visible.
Add another thin layer if you want slightly more coverage.
Stop when the color reaches your preferred level of opacity.
Some formulas may achieve the desired appearance with one or two coats, while others may require a different approach. Follow the manufacturer's recommended application instructions rather than applying extra layers automatically.
Step 4: Cure Each Layer Correctly
Cure each layer according to the gel polish manufacturer's instructions and the lamp's compatibility requirements.
Keep these points in mind:
Apply thin layers rather than one thick layer.
Use the recommended lamp and curing time.
Keep your fingers positioned correctly inside the lamp.
Avoid allowing gel polish to touch the surrounding skin.
Remove any product that accidentally touches the skin before curing.
Uncured gel polish on the skin can increase the risk of irritation or allergic contact reactions. If product touches the skin, clean it away before curing. Do not rely on curing to make skin contact safe.
Step 5: Finish with a Top Coat
Once the color layers have been properly cured, apply a compatible gel top coat.
The top coat helps create a smooth, glossy finish and protects the appearance of the manicure. Cure it according to the manufacturer's instructions.
If the system uses a top coat that leaves a sticky inhibition layer, follow the product directions for removing it. Some top coats are designed to finish without a cleansing step.
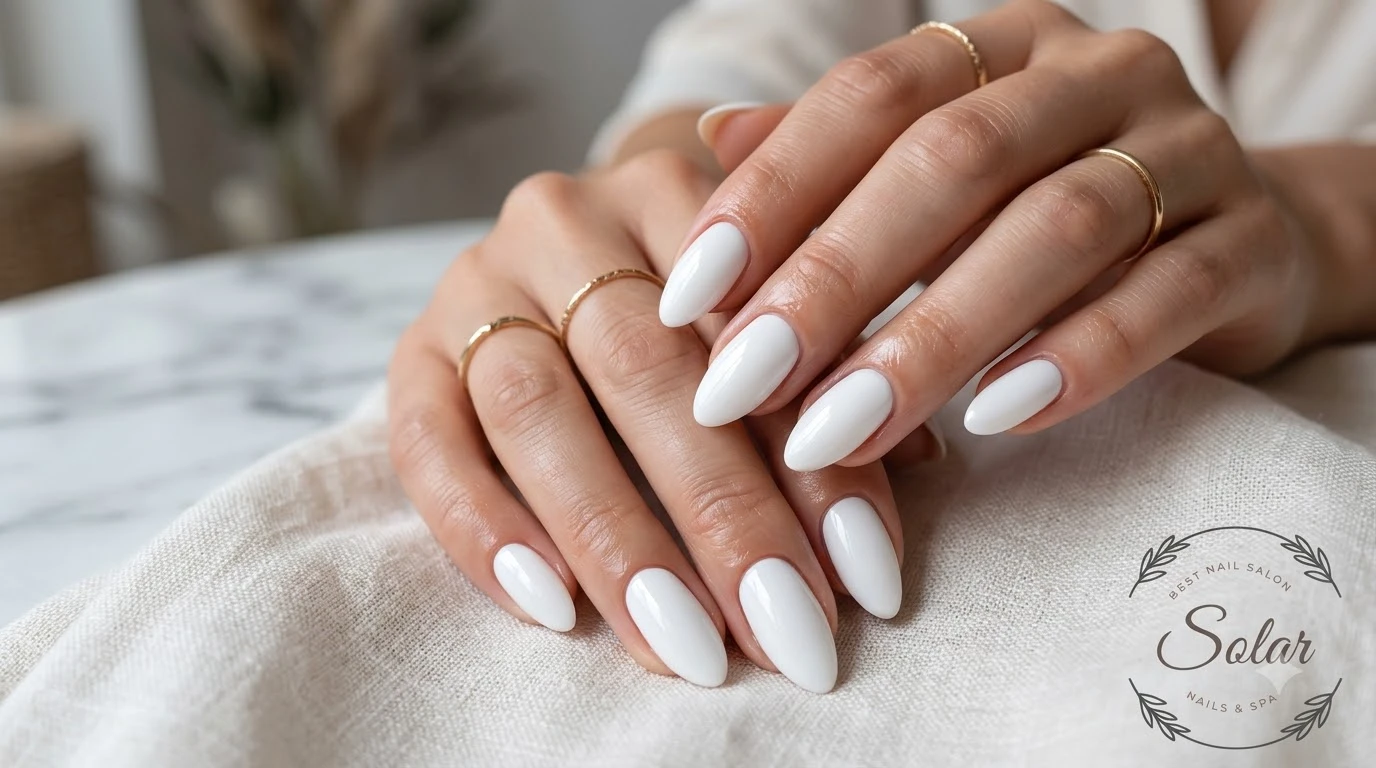
The final result should look smooth, creamy, and evenly colored, with the level of transparency you wanted.
How to Make Milky White Gel Polish Look Smooth and Even
White gel polish can be less forgiving than some darker colors because streaks and uneven coverage are easier to notice. A few application adjustments can make a significant difference.
Use Thin, Controlled Coats
Avoid applying a thick layer to achieve full coverage immediately. Thin layers are easier to control and help reduce the risk of uneven curing.
Allow each layer to reach the required curing stage before applying the next one.
Choose the Right White Shade
Not all white gel polishes create a milky effect. A bright, fully opaque white may look too solid for someone who wants a translucent finish.
For a softer appearance, choose a semi-sheer white, milky white, or soft ivory formula.
Avoid Uneven Product Application
Try to distribute the polish evenly from the center toward the sides without flooding the cuticle area. Keep the brush pressure light and use controlled strokes.
If the product looks streaky, check whether the formula is suitable for the finish you want and whether the brush is distributing the color evenly.
Keep Gel Polish Off the Skin
Avoid applying gel polish over the cuticles or onto the surrounding skin. If it touches the skin, remove it before curing.
A clean application around the nail edges helps create a more professional-looking finish and reduces unnecessary skin exposure to uncured gel products.
Popular Milky White Gel Nail Styles
Milky white is a versatile color that works with several nail shapes and decorative techniques. You can keep it simple or add a small detail to personalize the manicure.
Natural-Looking Milky White Nails
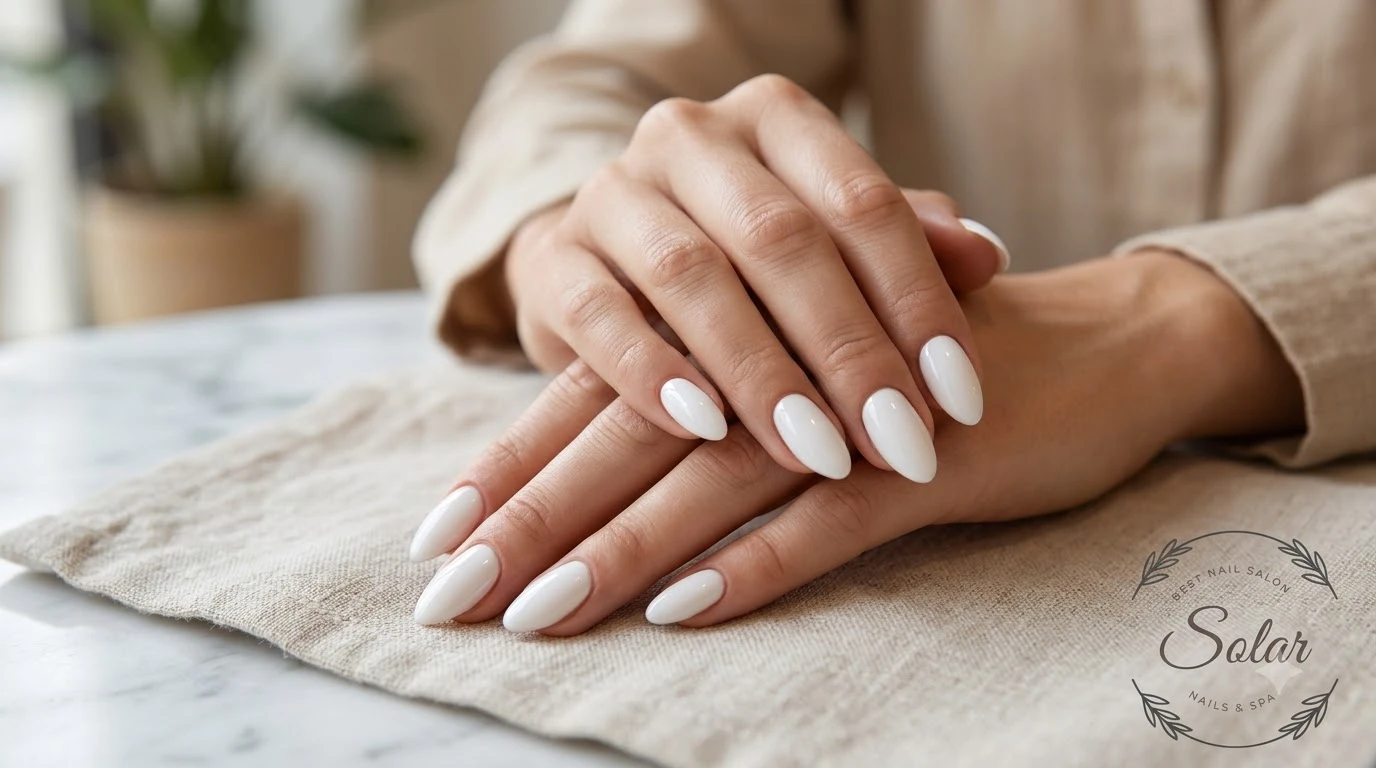
A simple milky white manicure creates a clean, understated appearance. Its soft color works well for everyday wear, professional settings, and occasions when you want a polished look without elaborate nail art.
Short, rounded, or softly square nails can all complement this style.
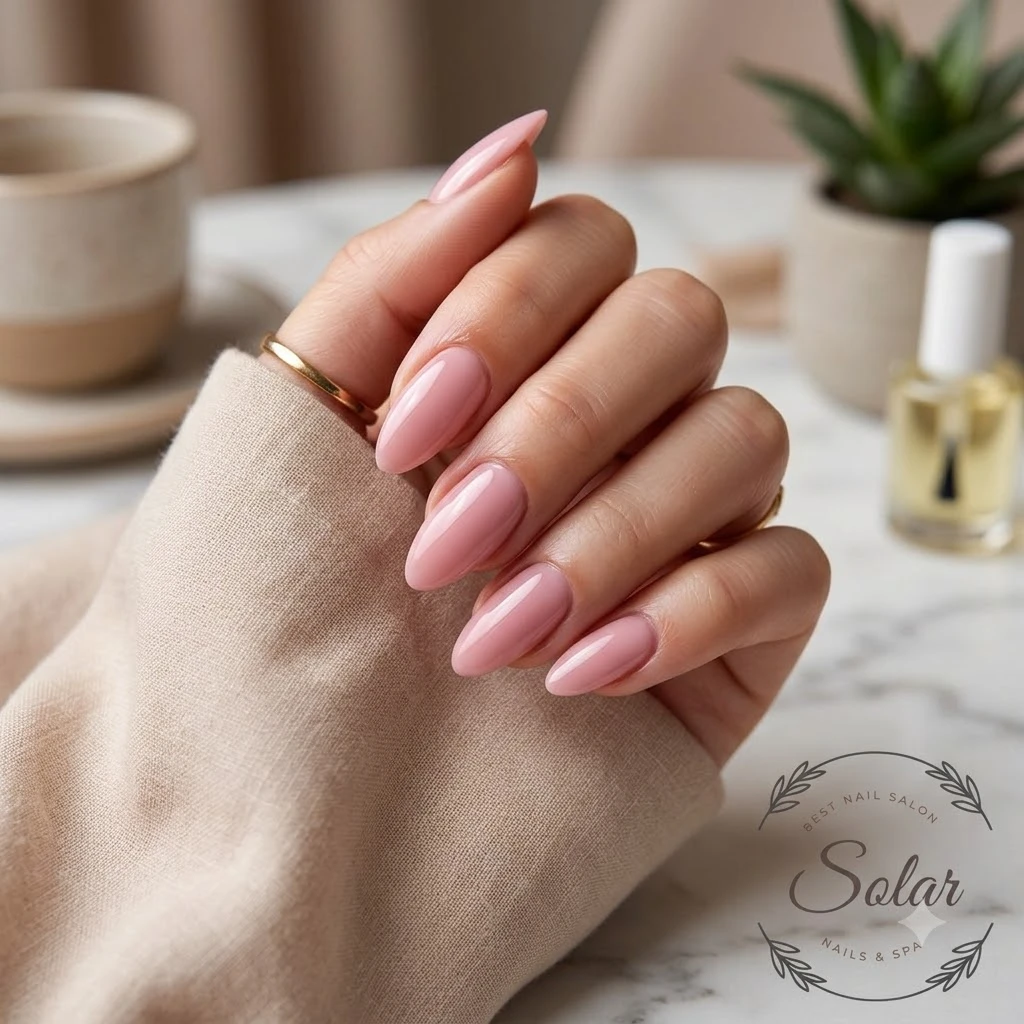
Soft Pink and White Nails
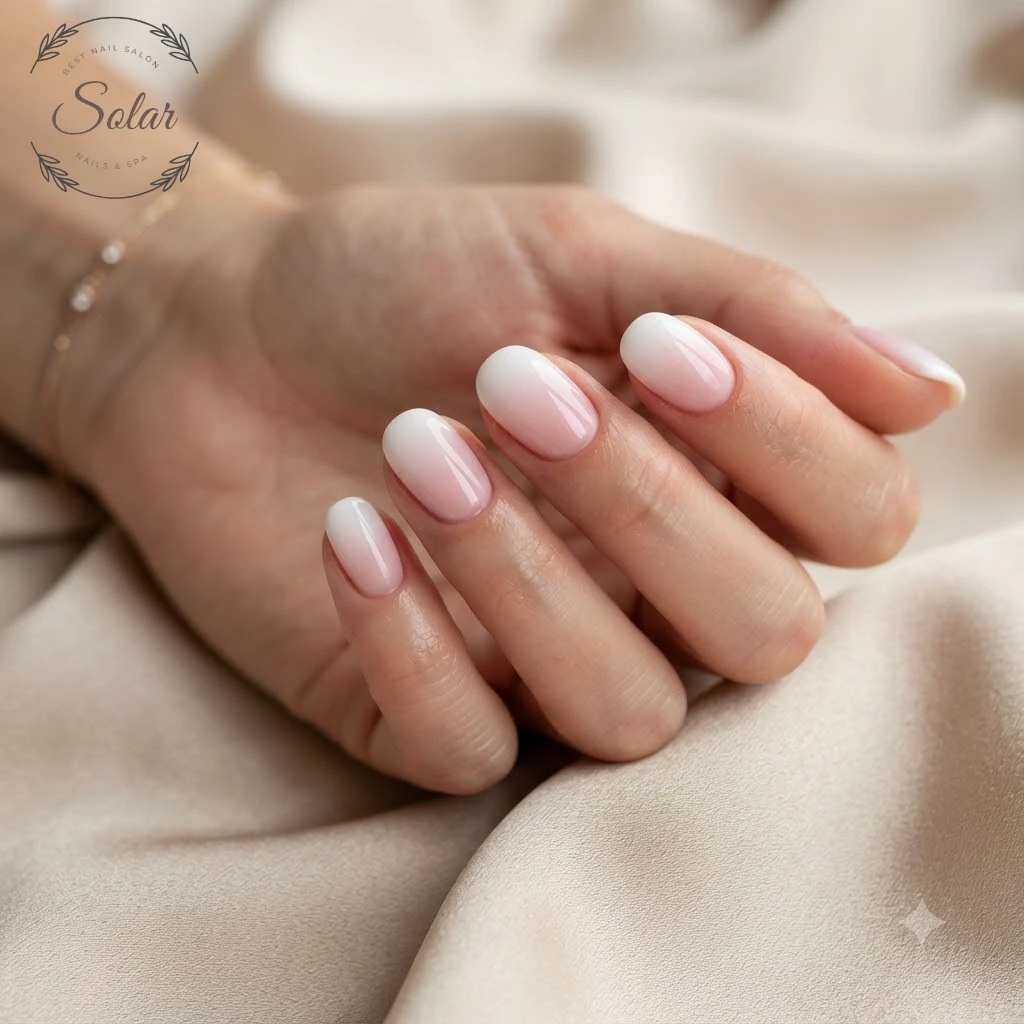
Combining a sheer pink base with milky white creates a delicate, feminine appearance. This style is a good option if you like the look of a traditional French manicure but prefer a softer transition between the colors.
The pink and white shades can be adjusted to create either a subtle or more noticeable contrast.
Milky White French Tips
A milky white French manicure combines a natural or sheer base with white tips. Depending on the design, the tips may be crisp and defined or softer and more blended.
This option is ideal for people who enjoy a classic French-inspired appearance with a gentle white tone.
Milky White Chrome Nails
For a more reflective look, a compatible chrome powder can be applied over a suitable base according to the product system's instructions.
A soft pearl or glazed finish can add dimension without completely changing the milky white color.
Short and Almond-Shaped Milky White Nails
Milky white looks attractive on different nail lengths and shapes.
Short nails: Create a neat, practical appearance.
Square nails: Offer a clean and structured silhouette.
Round nails: Provide a soft, natural outline.
Almond nails: Create an elongated appearance with tapered sides.
Choose a shape that suits your natural nails, comfort, and everyday activities.
How Long Do Milky White Gel Nails Last?
The wear time of milky white gel nails depends on the gel polish formula, nail preparation, application quality, natural nail condition, and everyday activities.
A gel manicure may remain attractive for a period of time, but no specific duration can be guaranteed for every person. Natural nail growth and visible regrowth can also make a manicure look less fresh even when the polish remains intact.
Factors That Affect Wear Time
Several factors can influence how long the manicure looks good:
Nail preparation: Proper preparation helps create a suitable surface for the gel system.
Application quality: Thin, even coats and correct curing matter.
Natural nail condition: Weak or damaged nails may affect the overall result.
Daily activities: Frequent exposure to water, cleaning products, or physical work can affect wear.
Aftercare: Protecting the nails and avoiding picking can help preserve the manicure.
When to Remove or Refresh Your Gel Manicure
Consider professional attention if you notice lifting, cracks, significant chipping, discomfort, or changes in the natural nail.
Do not cover lifted areas with additional polish or attempt to force the product back into place. An appropriate removal or repair approach depends on the condition of the manicure and the gel system used.
Where to Get a White Nails with Gel Polish Service in Lima
If you are looking for a white nails with gel polish service in Lima, it helps to choose a salon where you can discuss your preferred shade, finish, and nail-care needs before the service begins.
Solar Nails & Spa is located at 2361 Elida Rd, Lima, OH 45805. The salon offers a range of nail and beauty services, and its experienced team has more than 20 years of experience in the beauty industry.
If you want a soft milky white gel manicure, contact Solar Nails & Spa to confirm whether this specific service is currently available and which gel polish options are offered.
Before your visit, consider discussing:
Whether you want a sheer, creamy, or more opaque white.
Whether you prefer a natural milky finish or a French-inspired design.
Your preferred nail length and shape.
Whether your existing gel polish needs to be removed.
The service price and estimated appointment time.
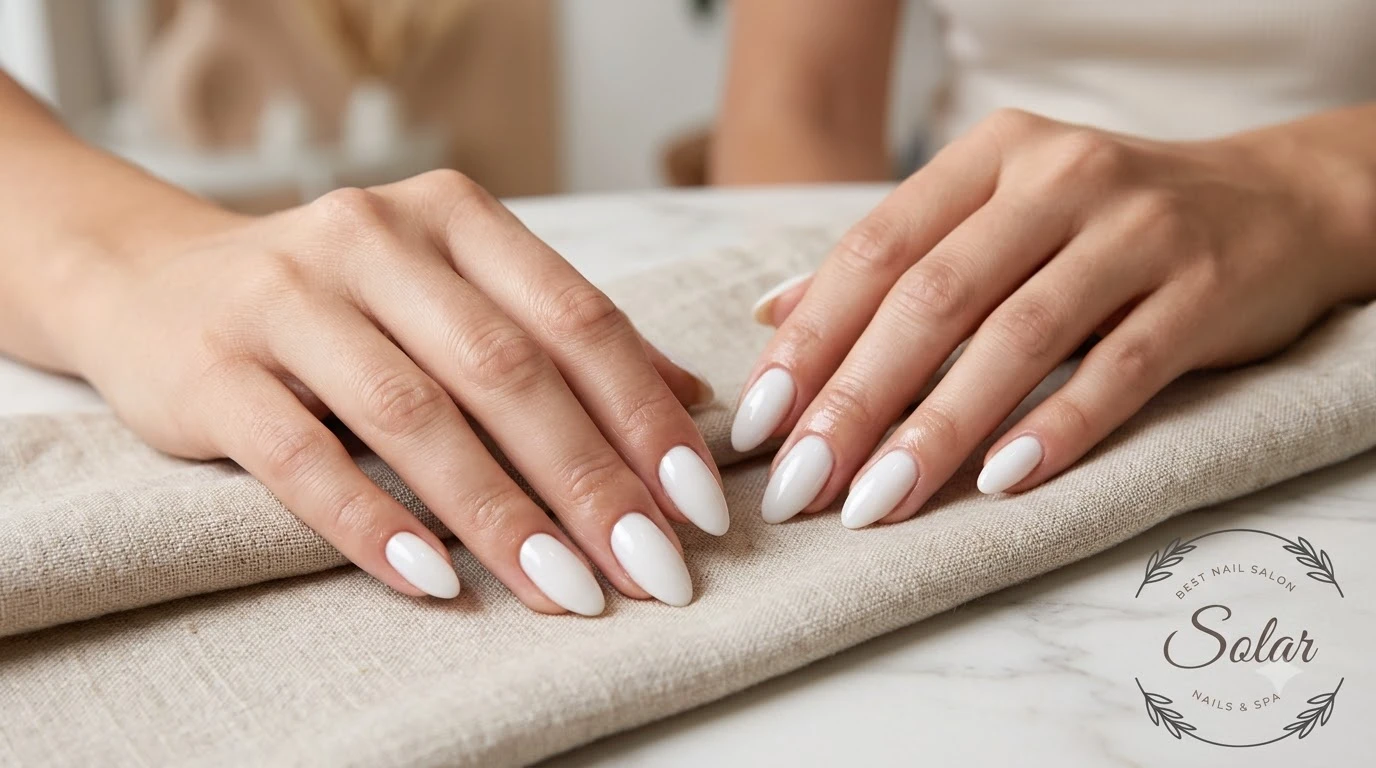
You can also bring a reference photo to help communicate the exact shade and finish you have in mind.
A good consultation helps the technician understand your expectations and recommend an appropriate option for your natural nails.
Milky white gel nails offer a beautiful balance between a natural-looking manicure and a polished white finish. The key to achieving this style is choosing the right sheer white gel polish, preparing the nails carefully, applying thin layers, and following the correct curing instructions.
Whether you prefer a simple milky manicure, a soft pink-and-white combination, or a delicate French-inspired design, the right shade and technique can help you achieve a look that suits your personal style.
If you are searching for a white nails with gel polish service in Lima, contact Solar Nails & Spa to ask about current gel polish options and discuss the milky white finish you would like to achieve.
Tags
24
Sep
Explore elegant ombre nail styles, color combinations, and nail shapes, plus discover professional ombre nail service options in Lima, OH 45805.
29
Oct
Discover Dip Powder Nails, including benefits, styles, durability, removal, and professional Dip Powder Nails in Lima and 45805.